Steam has another indie hit on its hands with Dave the Diver, a unique scuba diving adventure that’s topping the store’s sales charts. While you have the option to play it at a casual pace, making progress at a decent rate will make your underwater adventures far more enjoyable. Blending together a restaurant sim and underwater exploration game, odds are a few of the mechanics or systems won’t be immediately recognizable or clear. The tutorial does enough to get you started, but it will take much more skill and knowledge to succeed as both a business manager and explorer of the deep.
That’s a lot of responsibility for any one person to take on, so hire us to give you all the pointers you need to survive below the surface while keeping your business afloat in Dave the Diver.
Don’t overextend

Exploring the depths of the sea is one of the most thrilling aspects of Dave the Diver, but early on you need to know your limits. First, you only have so much oxygen, and running out and you will lose anything you’ve collected on that dive. Keep an eye on that air meter on your screen and leave more than enough left to make it back to your pod. You can replenish some air by finding the air cans around the map, but you shouldn’t rely on those in a pinch.
What’s worse is that the deeper you dive, the more dangerous the creatures become. Until you equip yourself with better weaponry, diving down even below the shallow regions too early will turn you from the hunter into the hunted.
Prioritize your air and weight
Speaking of your air, that should be the first thing on your upgrade list. It should go without saying, but the longer you can spend diving, the more opportunity you have to collect fish and resources.
That leads right into your next priority upgrade, which is your Cargo Box. Unlike a lot of other things you can upgrade, such as weapons, the Cargo Box will never be replaced and is the final limiting factor on how lucrative your dives can be. Dave can only carry a maximum of nine kilograms to start, and going above that limit will slow you down, possibly to the point where you need to discard something to make it back before you run out of air. Don’t put yourself in a position where you need to pick and choose which fish or item you have to ditch due to space. At the same time, don’t bother holding a heavy fish if you don’t need it.
Which fish you should focus on will be determined by your stats screen at the end of each day running the restaurant. Here you will see what item sold the best, and make sure to get more of that item instead of others that don’t sell well.
Catch a fresh fish

Not all fish you catch in Dave the Diver are created equal. When you make a catch and check your app, you will see that each fish gets a ranking of one to three stars, with three being the highest quality. The only way to get a three-star fish is to catch it without harming it at all. The only three ways to do this are to invest in the net gun, tranquilizer, or get the bug net for certain fish.
Don’t stress over side-quests
Between your dives, always speak to all the NPCs available to pick up any potential side-quests. Completing these tasks will earn everything from gold to rare ingredients for your restaurant, and there’s no time limit to completing any of them so it’s always worth it to accept them as soon as you can. The only real time constraint you need to worry about is when a VIP visits your restaurant and makes a special request.
Keep an eye out for blue diamonds
Speaking of quests, Dave the Diver is very accessible in how it handles your quests. All your quest objectives, main and side, will be marked by diamonds when you spot them. If you’ve got a handful of side-quests to collect a laundry list of fish and items, there’s no need to worry about memorizing them or constantly checking your menu. If you come across something you need, it will be marked.
Only hire help when you need it
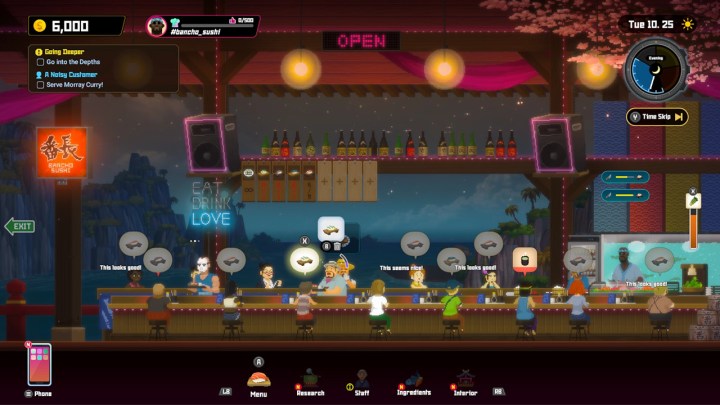
Part of your job running a restaurant will include hiring staff to help as your business grows. The first one is story-related, but future hires should only come as the need arrives. For example, if your customers aren’t getting their food quickly enough, hire a waiter. If the food is coming out too slowly, add another cook. When hiring, also pay attention to what skills they have, looking for Diamond, Platinum, and Gold tier employees first. Some even have special skills that only appear once they reach level three, such as always getting tips or cleaning up messes faster.
Editors' Recommendations
- Dave the Diver: most valuable items and how to sell them
- All Charms in Dave the Diver and what they do
- Best Wordle starting words, tips, and tricks
- Pokémon Scarlet and Violet Tera Raid guide: basic tips and tricks
- Marvel’s Midnight Suns: 6 tips and tricks to get started